
When you’re preparing to leave a job or simply want to remove company-related software from your personal laptop, it’s essential to do so carefully and effectively. Techy Smart Guide is here to guide you through the process of removing company software without risking the integrity of your system or violating any company policies.
Why Should You Remove Company Software from Your Laptop?
There are several reasons why you may want to remove company software from your laptop. The software might be specifically tied to your work environment, or it might be consuming system resources that you no longer need. It’s also essential to remove such software if you’re transitioning to a new job or upgrading to a personal operating system.
Reasons to Remove Company Software:
- Privacy Concerns: Many company-installed applications can track your activities or access sensitive company data. Removing them ensures your privacy and security.
- Freeing Up Space: Company software may take up significant disk space, which could be better utilized for your personal use.
- Avoiding Conflicts: Certain company software might conflict with personal software or create performance issues on your laptop.
- Software Updates and Compatibility: Company software often requires frequent updates. If you no longer need the software, you can avoid dealing with these updates.
Techy Smart Guide suggests that you carefully review the software list before deciding which programs to remove to avoid unintentionally deleting anything critical.
Step 1: Backup Your Data
Before you remove any company software, it’s important to back up any essential data, especially if the software contains or interacts with files you might need later. This is particularly important if you’re using cloud-based tools or accessing company files that could be at risk of being deleted when you uninstall the software.
How to Backup Data:
- Use an External Drive: Transfer important files to an external hard drive or USB flash drive.
- Cloud Storage: Upload any files to a cloud storage service (Google Drive, OneDrive, Dropbox) for easy access.
- Use Backup Software: If you’re unsure about what to backup, consider using backup software to save your data.
Techy Smart Guide always recommends backing up data to avoid losing critical information.
Step 2: Uninstall Software from Control Panel (Windows)
On Windows laptops, the easiest way to remove company software is through the Control Panel or Settings. Here’s how to go about it:
How to Uninstall Software in Windows:
- Open Control Panel: Press Windows + R, type control, and press Enter to open the Control Panel.
- Navigate to “Programs and Features”: Click on “Uninstall a Program” under the Programs section.
- Select the Company Software: Browse through the list of installed software and select the program you want to uninstall.
- Click “Uninstall”: Follow the on-screen prompts to uninstall the software. Some programs may ask you to confirm or provide a password.
In some cases, Techy Smart Guide recommends restarting your laptop after the software has been removed to ensure all related files are completely wiped from your system.
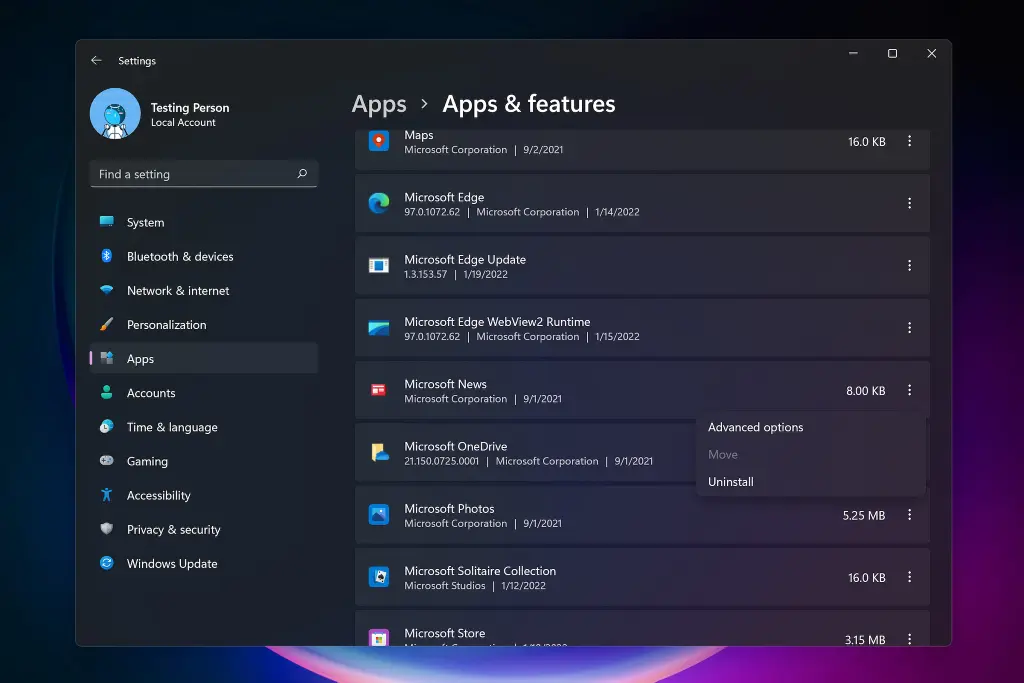
Step 3: Use Settings for Windows 10/11
For users on Windows 10 or 11, there’s an even easier way to remove company software through the Settings menu. This method is often faster and more straightforward.
Steps to Remove Software Using Settings:
- Open Settings: Press Windows + I to open the Settings app.
- Go to Apps: Select Apps from the menu.
- Find the Company Software: In the Apps & Features section, scroll down to find the software you want to remove.
- Select and Uninstall: Click on the software, then click Uninstall and follow the instructions to complete the process.
Techy Smart Guide suggests this method for Windows 10/11 users who prefer a more modern approach to managing software on their system.
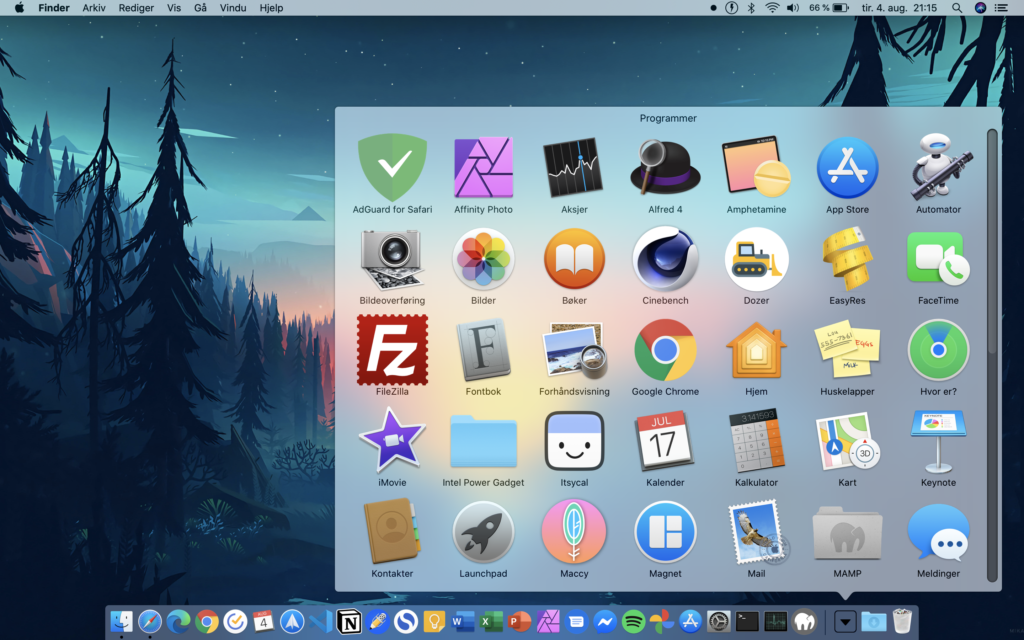
Step 4: Remove Software on MacOS
For Mac users, removing company software is also a simple process but slightly different from Windows. Here’s how to do it:
Steps for Uninstalling Software on MacOS:
- Open Finder: Click the Finder icon in the dock.
- Go to Applications: In the left sidebar, select Applications to see the list of installed software.
- Drag to Trash: Find the company software you want to remove, then drag it to the Trash.
- Empty Trash: Right-click the Trash icon and select Empty Trash to completely remove the software.
If the software came with an uninstaller, it’s best to use it rather than dragging the application to Trash to ensure all components are removed properly.
Techy Smart Guide advises using a third-party uninstaller if the software doesn’t come with an uninstallation option, especially for complex apps.
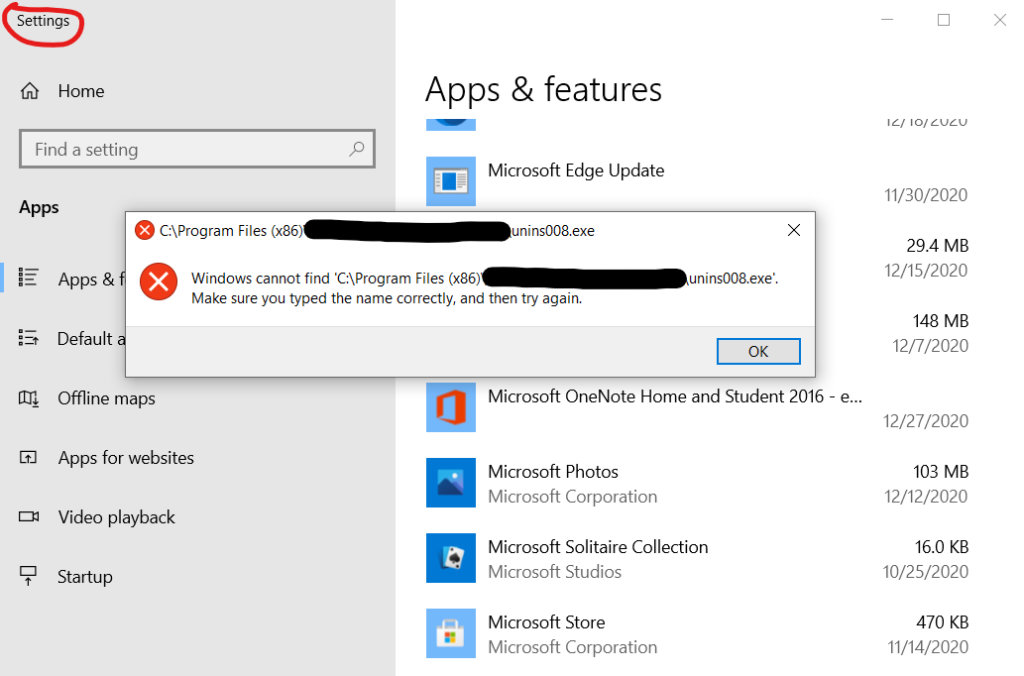
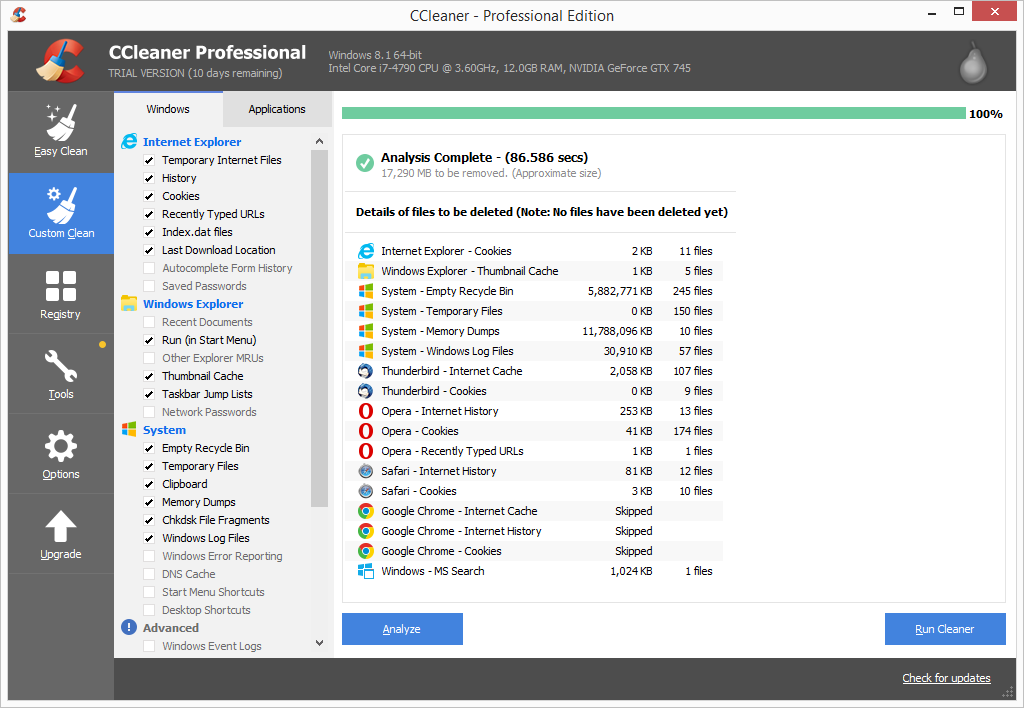
Step 5: Remove Leftover Files and Registry Entries
Sometimes, when you remove company software, certain files and registry entries may remain behind, taking up space or causing future conflicts. To ensure that no traces of the software are left, you may need to clean up the leftover files.
How to Clean Leftover Files:
- Use Disk Cleanup (Windows): Open the Disk Cleanup tool to remove temporary files and system files left behind by uninstalled software.
- Manually Check Program Files: Navigate to C:\Program Files (or Program Files (x86)) and look for any folders related to the software you removed. Delete them manually.
- Registry Cleaner (Windows): Use a registry cleaner to scan for leftover registry entries. Techy Smart Guide recommends using reliable software like CCleaner for this purpose.
Step 6: Reboot Your Laptop
After you’ve uninstalled the software and cleaned up any leftover files or registry entries, it’s essential to reboot your laptop. Restarting your system will ensure all changes are properly applied and that there are no remnants of the company software left in memory.
Techy Smart Guide suggests rebooting your laptop at least once after uninstalling software to prevent any issues from lingering.
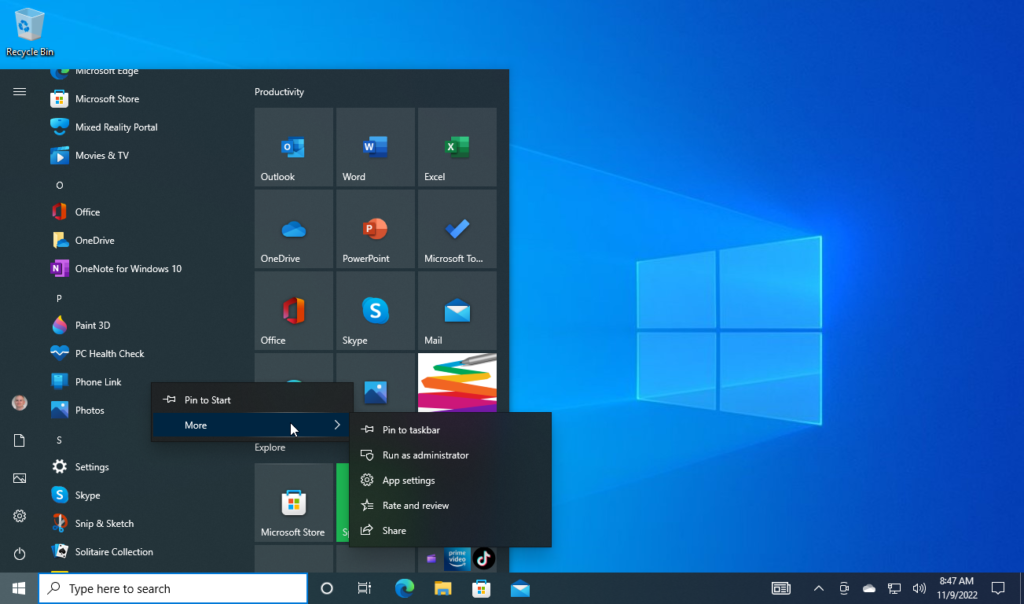
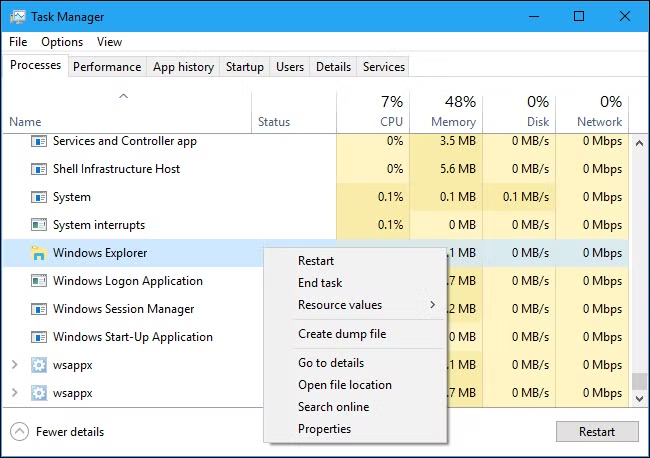
Step 7: Check for Any Company-Specific Software Left
After rebooting, it’s always a good idea to double-check that all company software has been removed. Look through the Applications/Programs list once again, and ensure no associated services or background processes are running.
Check for Running Processes:
- Windows Task Manager: Press Ctrl + Shift + Esc to open Task Manager and look for any processes associated with the software.
- Mac Activity Monitor: Open Activity Monitor on a Mac to check for active background processes.
Techy Smart Guide recommends using these tools to confirm that no software is still running in the background.
Conclusion: Safely Removing Company Software From Your Laptop
Removing company software from your laptop should be done carefully to avoid issues with your operating system and to ensure privacy. By following the steps outlined in this guide from Techy Smart Guide, you can safely uninstall software, remove leftover files, and regain control over your laptop’s resources. Whether you’re transitioning to a new job, upgrading to personal software, or simply decluttering, these steps will help ensure that your laptop stays clean and running smoothly.